Ramsey County Print
Address Labels
Print Address Labels:
Map Tools
Click on the Toggle Basemap button
on the lower-left to switch the basemap.
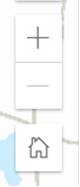
Use the buttons on the top-left, + to zoom-in, and –
to zoom-out. The home button will zoom
to the full default extent.
Click on the legend button on the top-right to display the
map legend.

Click on the Layer List to turn on or off the visibility of map layers. Click on the eye to the right of the layer name to toggle the layer visibility.
Click on the Measure button to open the measure tools. Select a point, line, or polygon drawing tool
and the units desired.

Print Address Labels
![]()
1. Click the Create new list button.
2.
Select an Input layer from the drop-down
list. 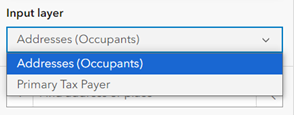
3.
Enter an address or select a tool to draw and
select features on the map. Click the
trash can icon to remove the selection. 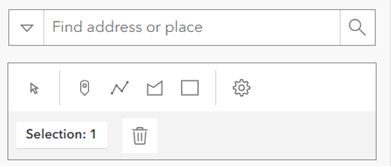
4.
Snapping may be enabled by clicking the gear
icon to the right. 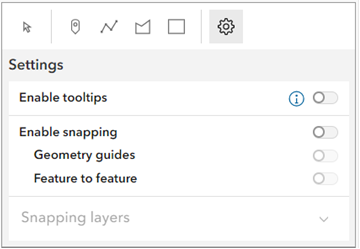
5.
A buffer search distance may be applied, click
the Search distance toggle and select a unit and
distance. 
6.
Once a selection is completed, a message will
appear below with the number of records selected. ![]()
7.
The name of the address list may be edited in
the box below. 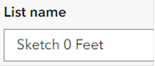
8.
When the list is ready for export, click
Done. ![]()
9.
The configured list will appear in a list of
address lists. 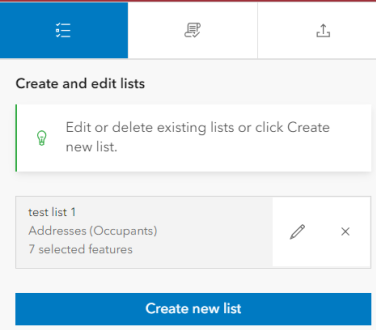
10. Click the pencil icon to edit the selected list.
11. Click the X to delete the selected list.
12.
Click the Export button to create the address
list file. 
13.
Select the desired address list (check box) from
My lists 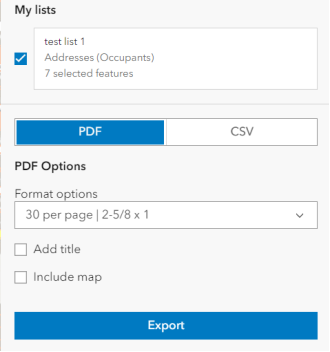
14. Select PDF or CSV.
15. Select the desired output format, addresses per page.
16. The report title may be added to the top of the report, and an image of the map; however, the map will occupy the first page.
17. Click Export to create the file and download.
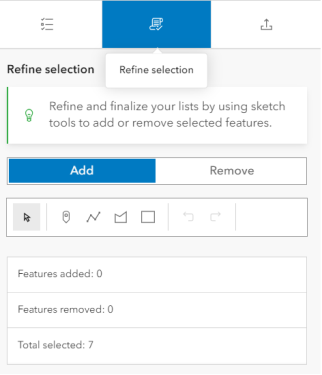
18.
The selection may be further refined by adding
or removing features, by clicking on Refine Selection.